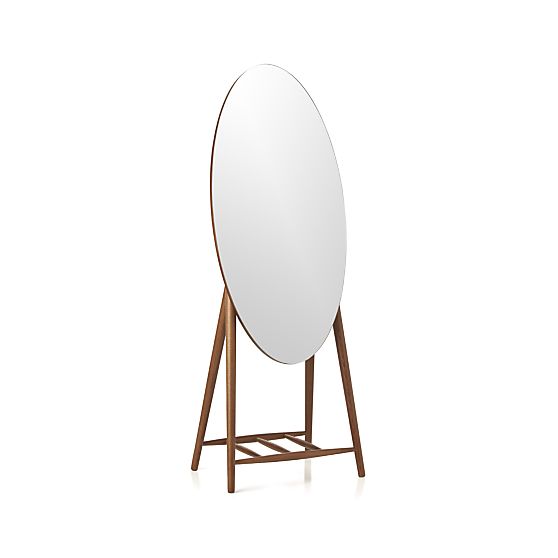
LUXLEY FLOOR MIRROR
Crate & Barrel, Fall 2015
A modern, mid century inspired classic oval mirror. Solid wood ash leg frame supports mirrored glass & a slatted shelf for storage.
Photo credit: Crate & Barrel
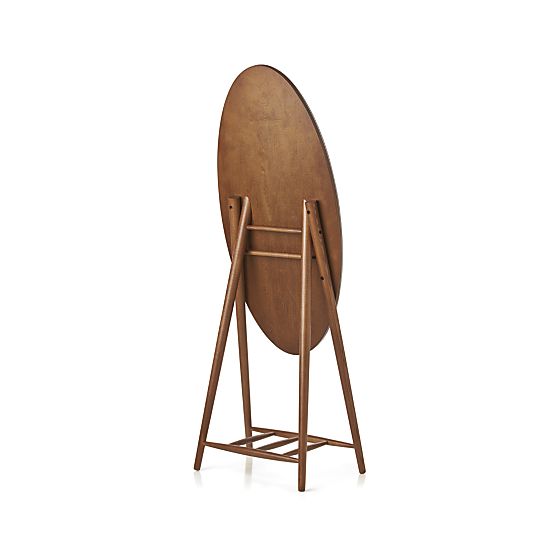
LUXLEY FLOOR MIRROR
Crate & Barrel, Fall 2015
A modern, mid century inspired classic oval mirror. Solid wood ash leg frame supports mirrored glass & a slatted shelf for storage.
Photo credit: Crate & Barrel
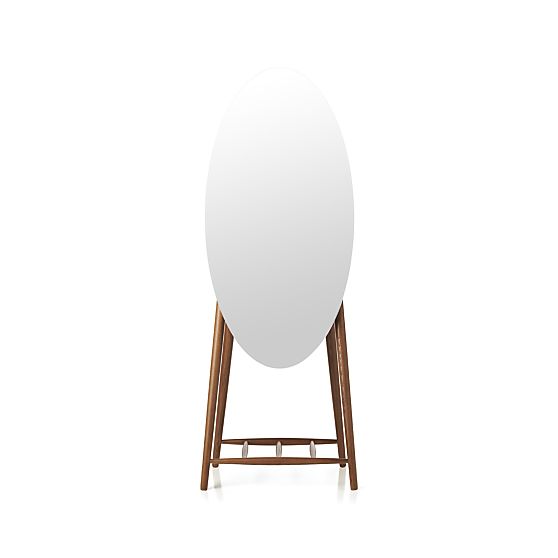
LUXLEY FLOOR MIRROR
Crate & Barrel, Fall 2015
A modern, mid century inspired classic oval mirror. Solid wood ash leg frame supports mirrored glass & a slatted shelf for storage.
Photo credit: Crate & Barrel